Victure HC520 camera trap
The HC520 camera trap, or trail camera, is one of the last trap cameras by Victure. The camera is thought to be a bit different from others, in fact has some new really interesting features.
But let's start with the specifications.
Specifications
- Image sensor: CMOS max. 30MP
- Lens: F=2.5 f=8.7mm, 55°
- Storage: SD or SDHC Card. Max 64GB
- Trigger time: 0.3s
- IR Leds/PCs: 850nm/40pcs, brightness adjustable
- PIR sensitivity: adjustable
- PIR distance: 0-18m
- PIR angle: 90°
- PIR dealy: 5s - 60min
- Screen: 2.0" TFT-LCD
- Working modes: Photo/Video/Photo+Video/Time lapse
- Photo resolution: JPEG 2M/3M/5M/8M/12M/16M/20M/30MP
- Video resolution: AVI 4K/2.7K/1080P/720P/VGA
- Video length: 3s - 10min
- Languages: English, French, German, Spanish, Italian, Chinese
- Mic: built-in
- Speaker: built-in
- Temperature monitor: yes
- Working voltage: DC 6V
- Battery type: 8 AA batteries
- External power supply: DC 6V/2.0A
- Waterproof level: IP66
- Dimension: 150(L)x112(W)x66(H)mm
- Weight: Approx 285g (battery excluded)
NB. In bold the new features.
Main features
The specifications are really remarkable. Not only they have increased the sensor resolution (wow 30MP is a big leap), but they also improved the video resolution up to 4K30P!! I think that to be a trap camera, for monitoring the wildlife is really good, and it's hard for asking more. Although something I'd like to ask.
They also improved the trigger time: now with only 0.3 seconds of trigger time, you'll be sure to capture better your subjects when they'll pass in front of the camera. Another important feature is the maximum size of the card memory, and now you can use also a 64GB SD memory card, which's twice the other cameras.
For the video, the biggest improvement is the 4K30P. Even though is only for documentation purpose, it could be quite good for including your monitoring video in others videos, to publish maybe on Youtube or somewhere else, giving you more chance to make better things. Also, the maximum video length has been improved, so now you can record up to 10 minutes (and this justify the new maximum size of the memory card).
And there's another big feature, the WIFI module, but I'm going to talk to you later.
Photos and video resolutions
As always you can choose from many different photos and video resolutions, in order to fit your needs. Of course, you have to be aware that there's a price to pay, and I mean how many photos/video you can store in the memory card. So, you should think well about what you need: high resolution for publishing or low/medium resolution for monitoring.
Design
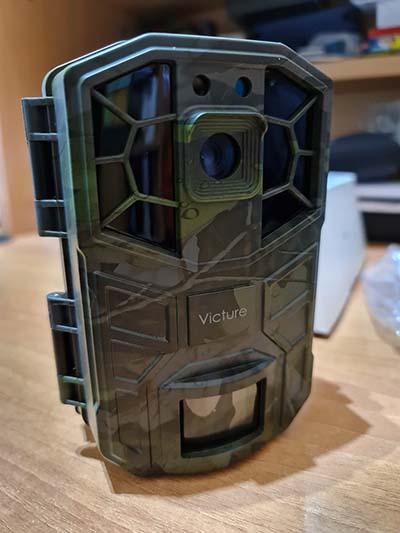
The body of the camera is pretty similar to the others, with the main door locked by two clip on the right side, and the batteries door underneath the body. Also, the camouflage colour is the same, but I think will not an issue for everybody.
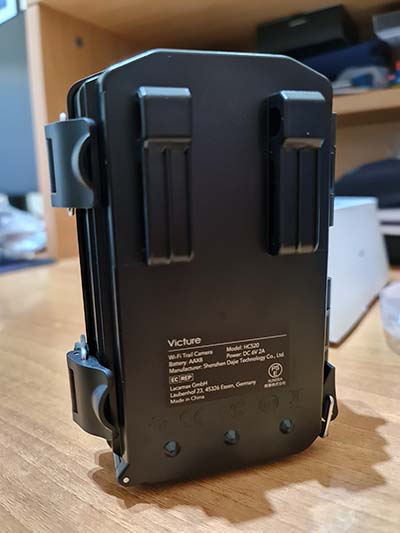
Back to the camera, there are the belt loops and the security loops, if you want to tie safely the camera with a steel cable.
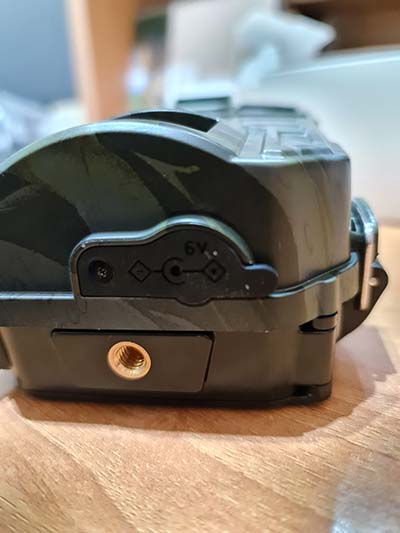
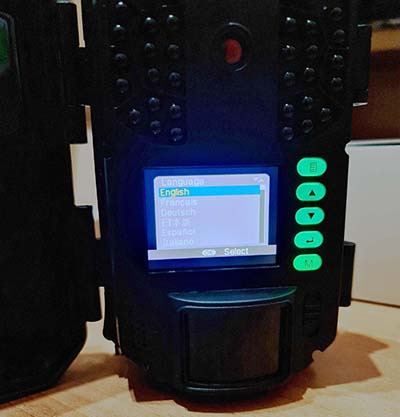
Opened the front door you will be able to access the monitor and the buttons for setting the camera, and for inserting the SD card. Protected by a rubber cover there's the power supply plug and a threaded hole for the metal plate.
The IR-LEDs have been put differently rather than the HC300 model, as you can see, but it doesn't compromise the functionality.
Settings
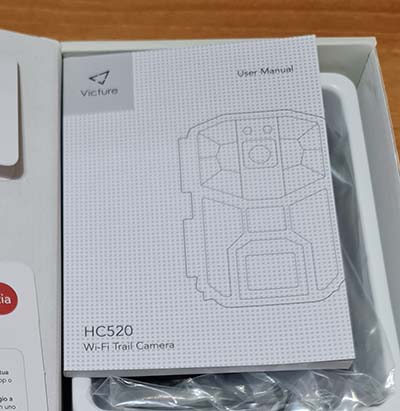
The menu covers all settings aspect of the camera, and it's really simple to use it. Moreover, the user manual is in different languages so you won't have any problem setting this camera.
For setting the camera you need to set it in TEST mode using the specific button (OFF-TEST-ON button), then select the function, press the OK button to see the different option. To get back to the previous menu options press the MENU button.
I think there're some important settings to consider, and I mean:
- Photo Series: how many photos taken during the trigger time. You can choose from one to three photos in series. Be aware that using three shoots on windy days it could be easy to capture the leaves movement if your camera is near some trees.
- Video length: you can choose from 3 seconds to 10 minutes. Also in this case you'll have the same "problem" of the Photo Series setting.
- PIR interval: the default value is 30 seconds, so it's mean that the camera will trigger twice in a minute, but if you want to change it, you can set it from 5 seconds to 30 seconds, or from 1 minute to 60 minutes, according to your needs.
- Password protection: I know, this setting won't avoid stole your camera, but it'll prevent the use by other people, even though it's really easy to discover how to change it. In that case, I'd have preferred a different method for recovering the camera, like an option for changing the super password too.
- WiFi settings
How to put it in the field
Depending on your needs or the kind of animal you want to control, you can put the camera, using its belt, in a tree or in a bush, maybe using a metal stick as a support for the camera. As I said before, you could protect the camera with a steel cable, unless it's in a safe place. Anyway, for putting properly the camera you need to consider the environment, in order to understand eventually items that can get the camera in trouble, like near trees that move during a wind.
WIFI
That is one of the most interesting feature of this camera. Now you can control the camera using your BT or WIFI module of your phone. For controlling the camera you need to install the proper Android, or iOS, an app from the apps store (refers to your OS apps store). For the installation, you can use the QR code printed in the manual and following the instruction. It's really easy to use it.
Accessories
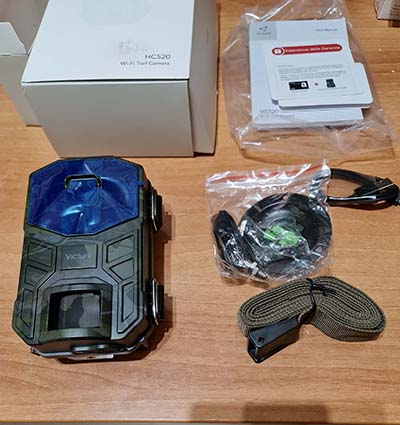
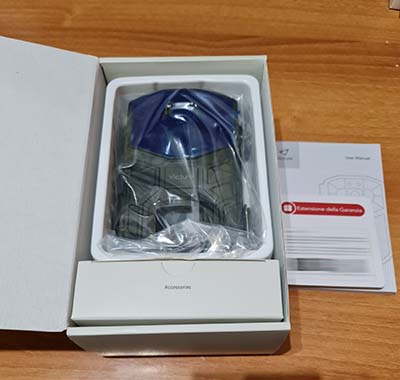
Like the HC300 camera, there are some accessories, as the USB cable, the metal support for putting the camera on a wall, for example, the user manual (wrote in different languages) and a belt to tie the camera somewhere like a tree or a pole.
Conclusion
This new HC520 have some new features, like the 4K video, the 30MP sensor, and the WIFI as well, and I have to say that it works really well. The price is bigger than the other model, so you need to understand if the difference for you worth the bigger price, but mostly if you need more resolution e the opportunity to check or control remotely the camera.
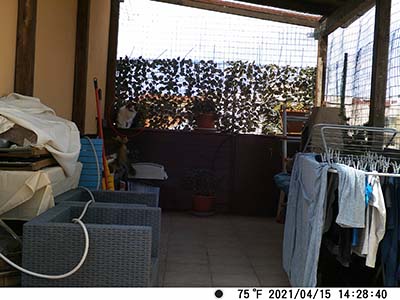
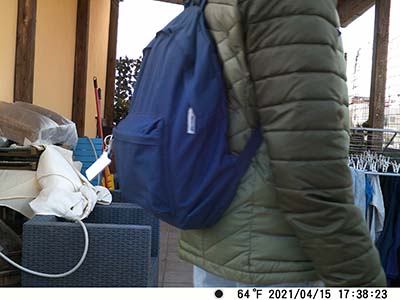
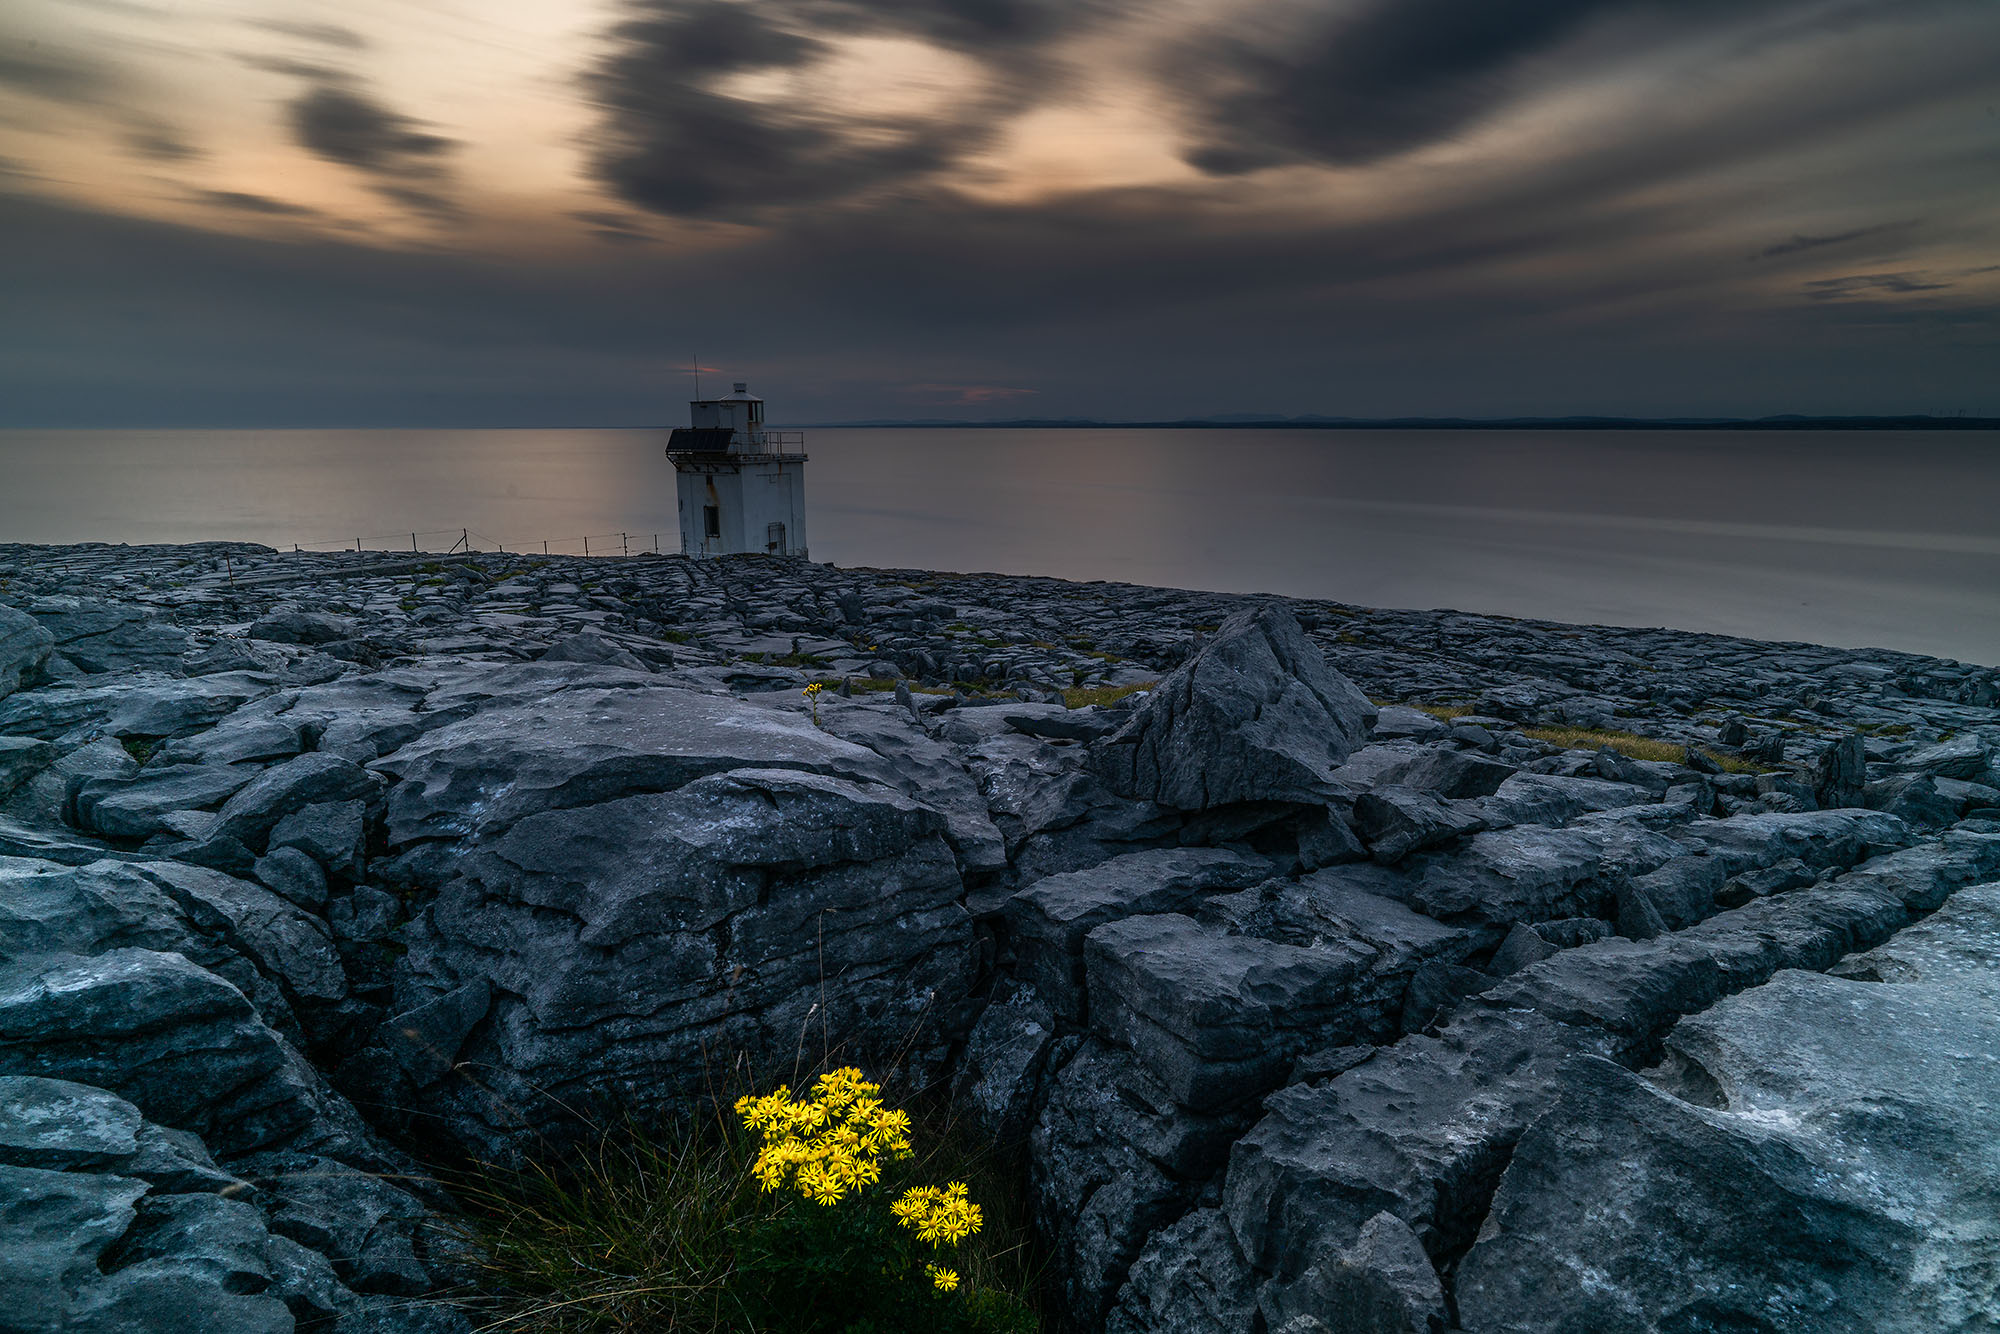
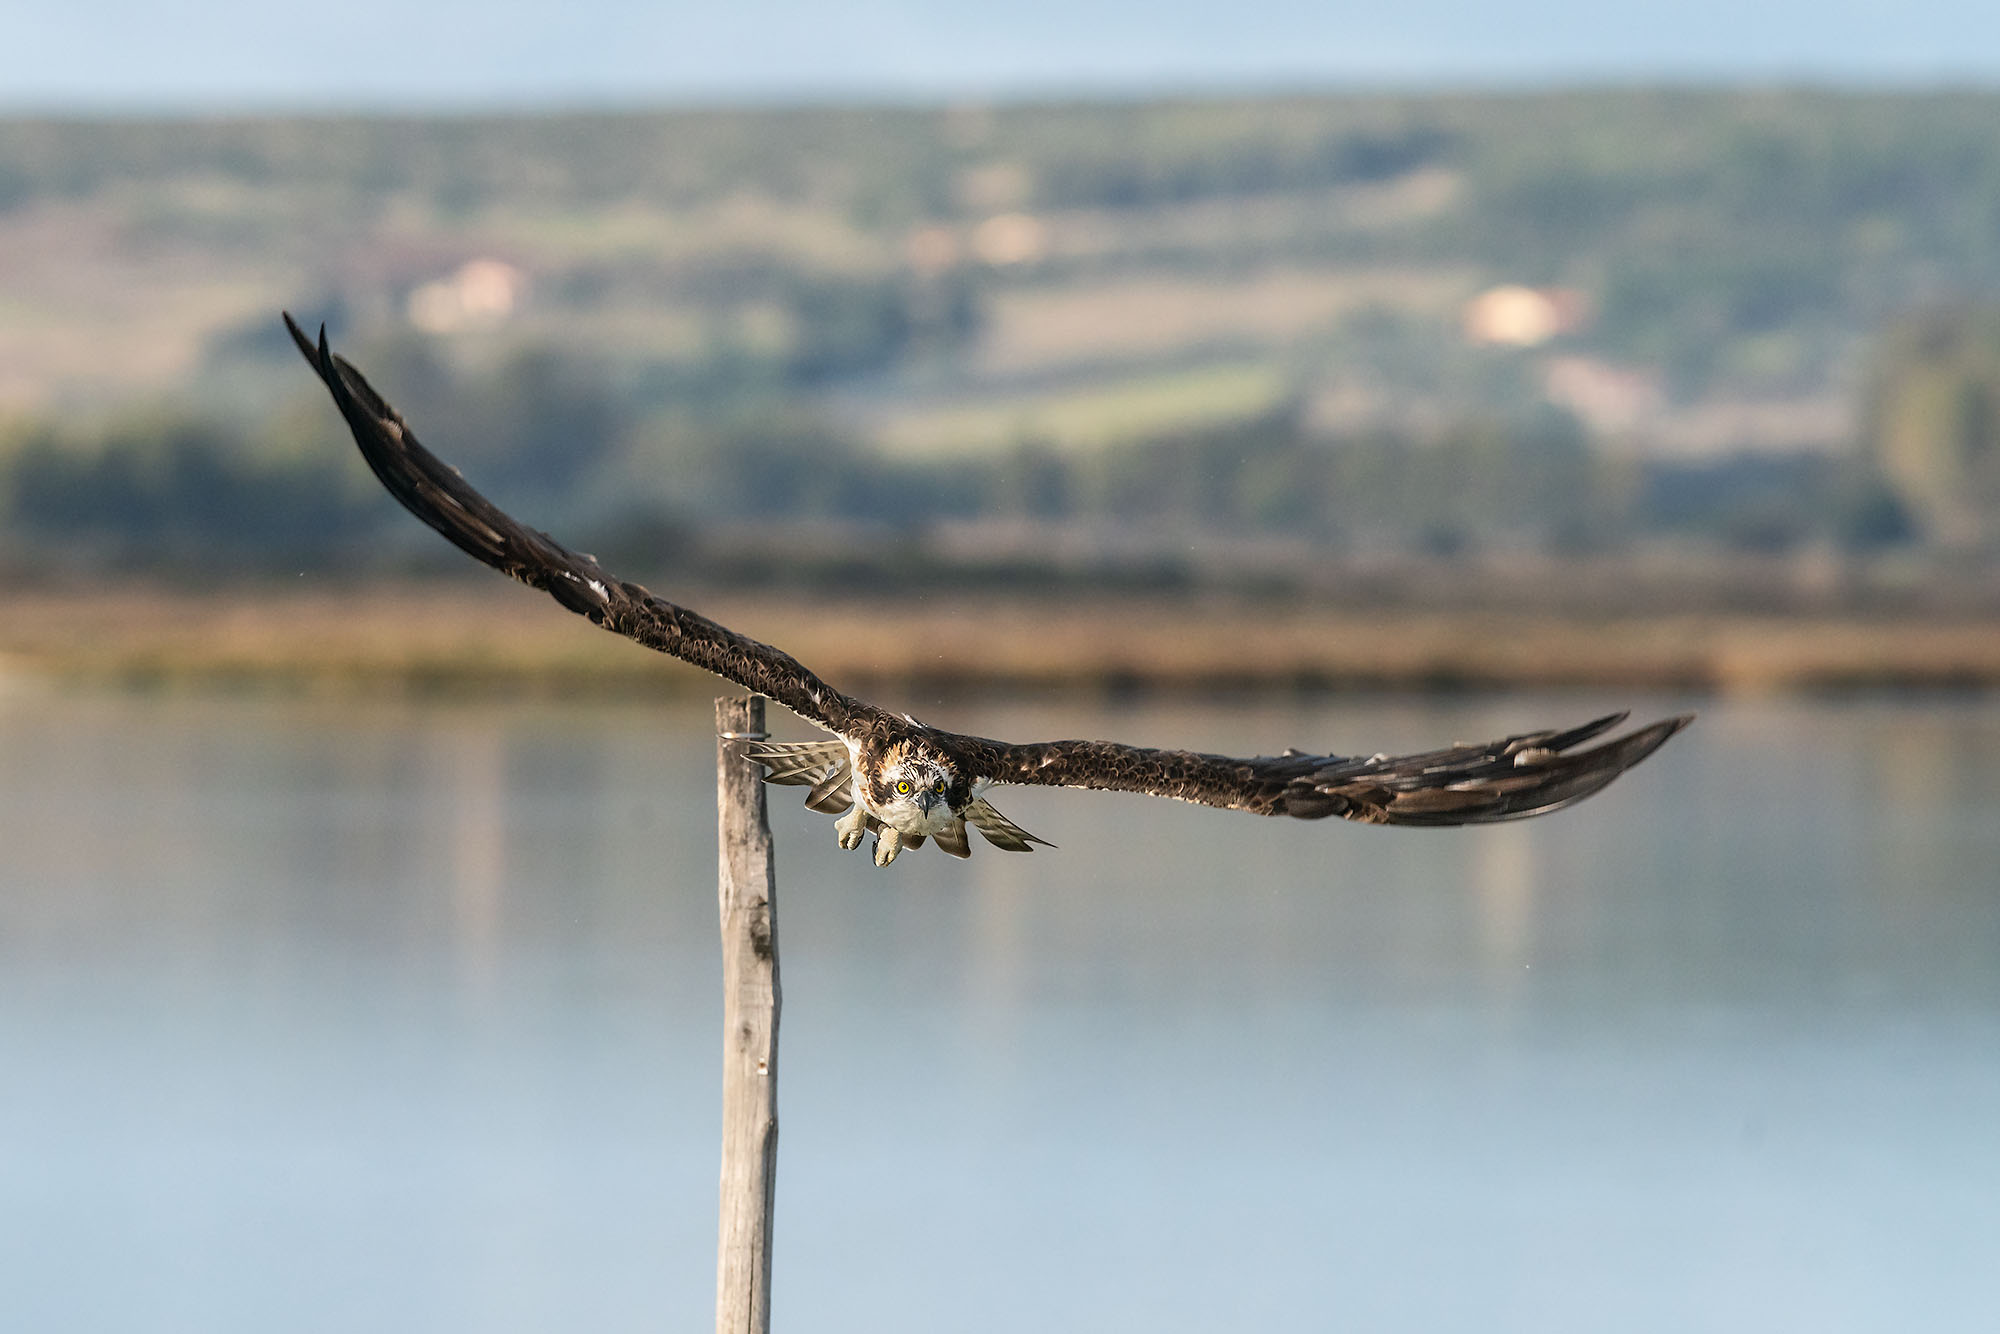
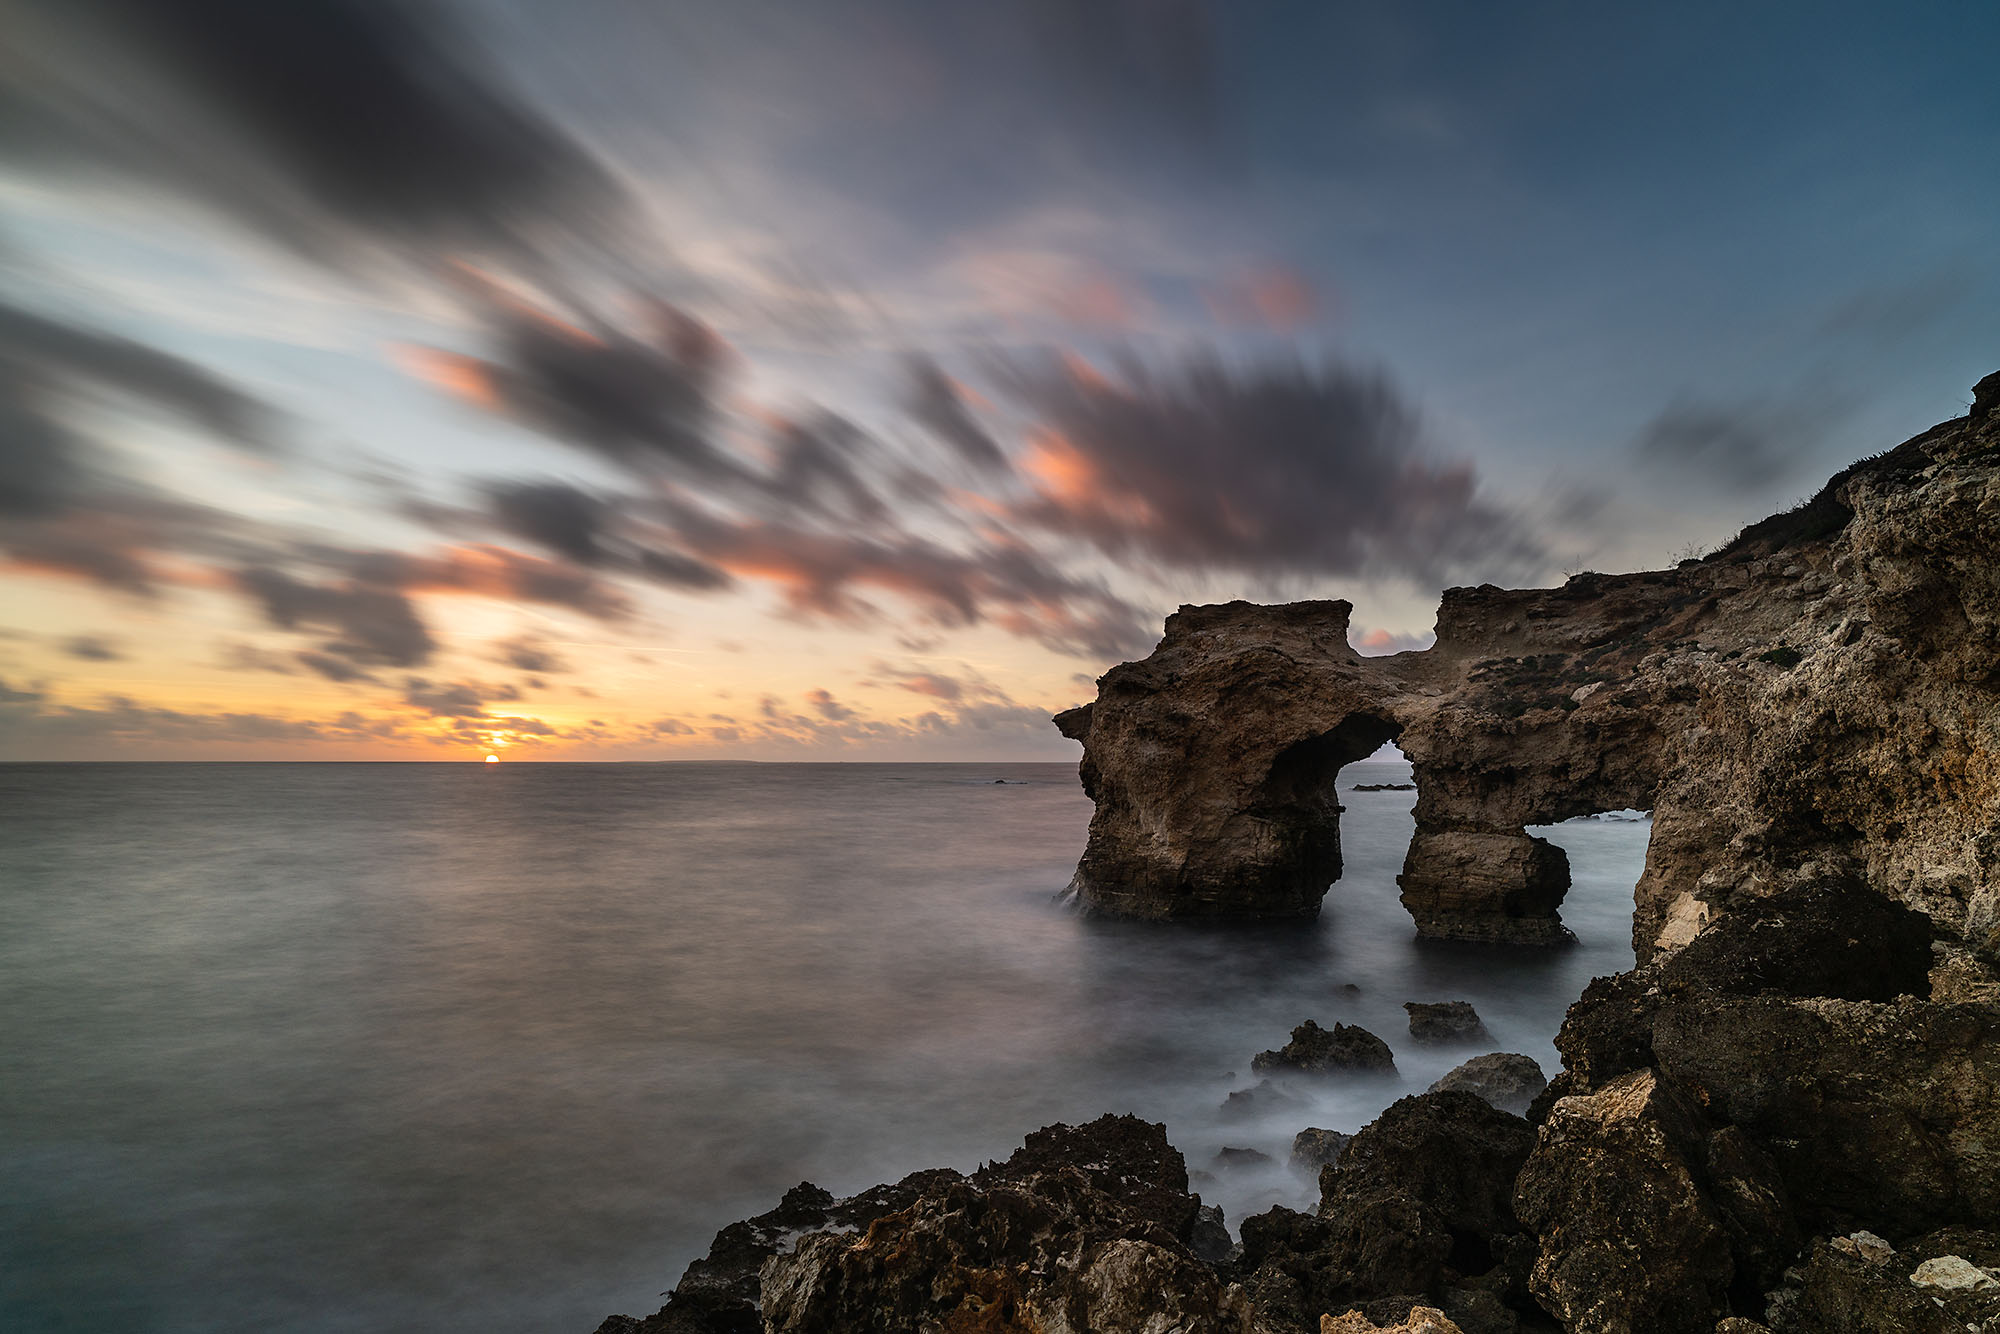
Here some test pictures.
Thanks for reading, and if you have some question don't hesitate to write to me or leave a comment using the link below.
Cheers.
What do you think?
Send us feedback!

